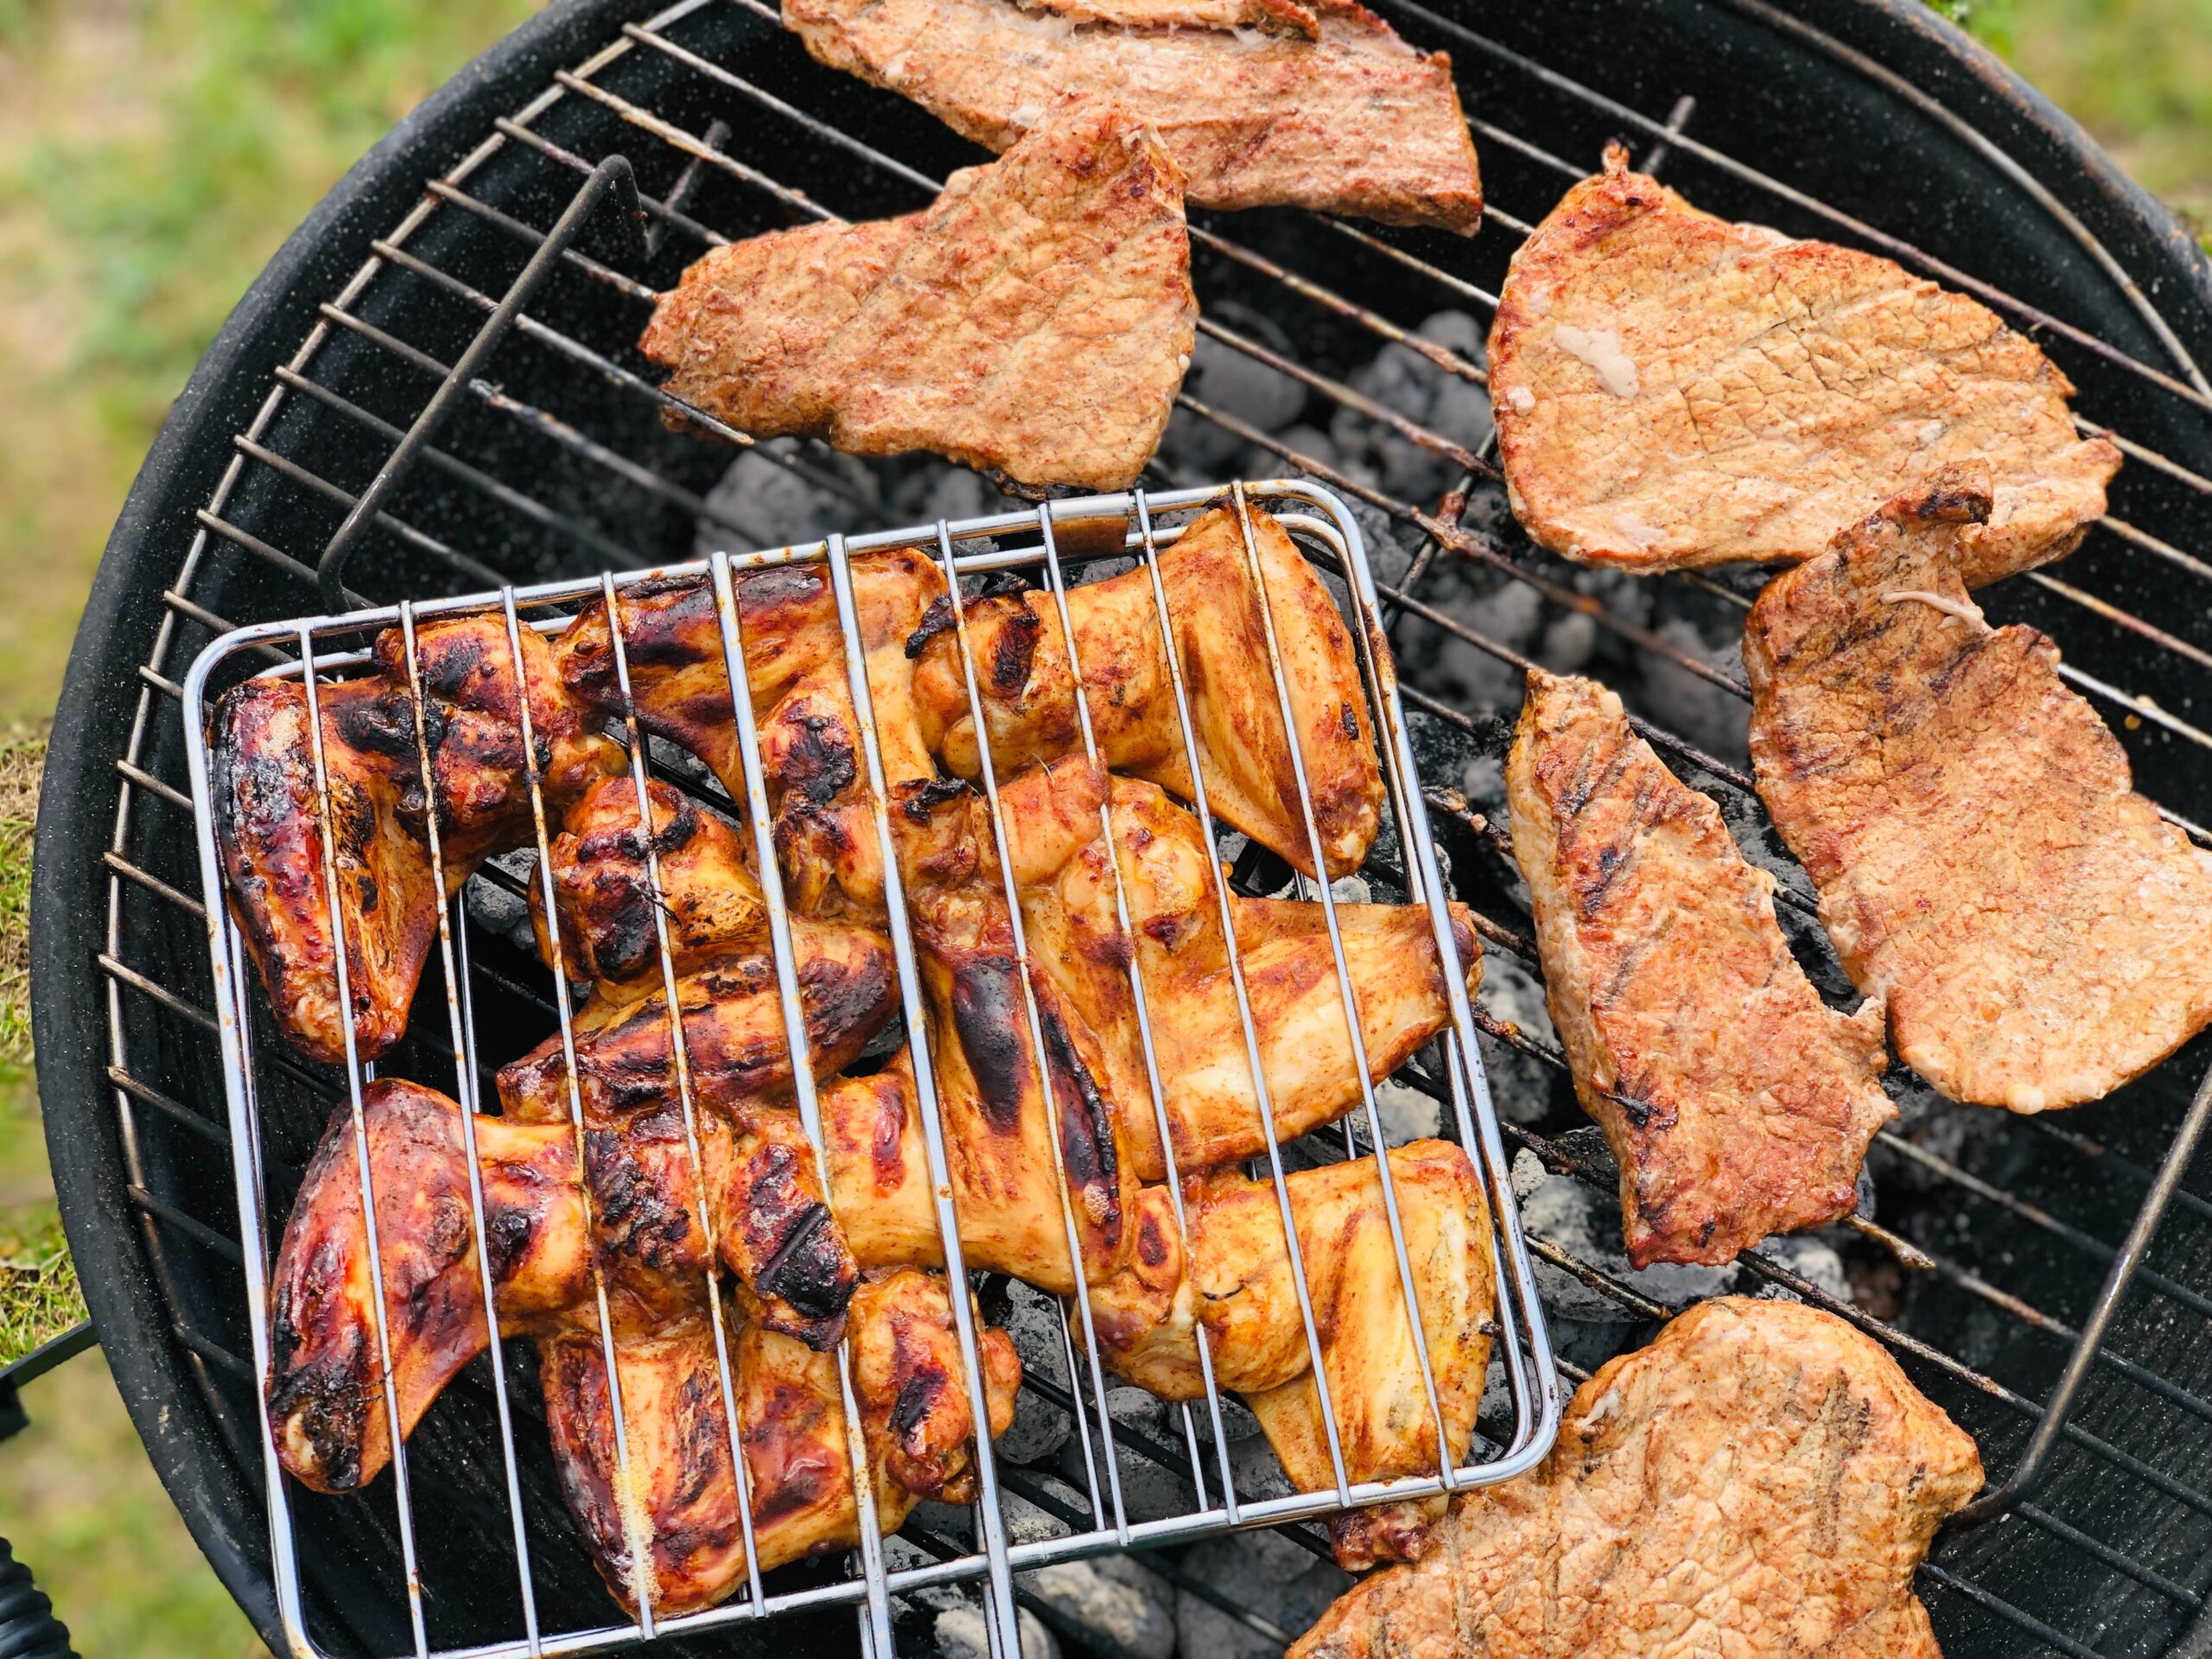
Grilling is not only a beloved cooking technique but also an art form. And nothing adds more aesthetic appeal to a perfectly grilled dish than those tantalizing grill marks. But have you ever wondered about the science behind achieving those beautiful charred lines? Let's dive into the secrets behind perfect grill marks and how they contribute to unlocking maximum flavor.
The key to achieving perfect grill marks lies in the Maillard reaction, a chemical process that occurs when proteins and sugars react at high temperatures. This reaction produces a complex network of flavors and aromas, giving grilled foods their distinctive taste. By mastering the grill marks, you can enhance the Maillard reaction, resulting in more intense flavors.
To create flawless grill marks, it's important to preheat your grill properly. A hot grill surface is essential to get the Maillard reaction going. The heat causes the surface of the food to caramelize and form a delicious brow crust. Make sure to clean the grill grates thoroughly before heating to prevent any unwanted flavors and ensure even cooking.
The next step is to oil the food, not the grill. Brushing a thin layer of oil directly onto the meat or vegetables helps to prevent sticking and promotes better searing. Additionally, the oil creates a barrier that helps to intensify the grill marks. Be careful not to over-oil the food, as excessive oil can cause flare-ups and interfere with the formation of grill marks.
Lastly, the technique of achieving perfect grill marks lies in patience and precision. Once your grill is hot and oiled, carefully place the food on the grill at a 45-degree angle. Allow it to cook undisturbed for a few minutes, then rotate it 90 degrees to create the classic crosshatch pattern. This rotation ensures even cooking and provides those coveted, aesthetically pleasing grill marks.
Preparing Grill Marks 101: Techniques for Mouthwatering Presentation
Grilling is not only about cooking delicious food but also about creating an appealing presentation. One way to achieve this is by mastering the art of grill marks on your grilled dishes. Those perfectly seared lines can elevate even the simplest of meals to a whole new level. In this section, we will explore some techniques that will help you achieve mouthwatering grill marks every time.
The first step in obtaining those picture-perfect grill marks is to ensure your grill is preheated properly. Whether you are using a gas or charcoal grill, let it heat up to medium-high heat before placing any food on the grates. This will create the ideal searing temperature and prevent the food from sticking to the grill.
Once the grill is hot enough, it's essential to properly oil the grates. A well-oiled cooking surface will aid in creating clean and defined grill marks. Use a brush or folded paper towel dipped in vegetable or olive oil to grease the grates. Be cautious not to use too much oil as it may cause flare-ups and inconsistent marking.
Finally, for those sought-after grill marks, you need to follow a specific cooking technique. Start by placing the food item on the grill at a 45-degree angle to the grates. After a couple of minutes, rotate the item 90 degrees to create the first set of grill marks. Once the first side is nicely marked, flip the food and repeat the process on the other side. By employing this technique, you will achieve beautiful crosshatch patterns that will impress any barbecue enthusiast.
Grill Marks: Enhancing Texture and Visual Appeal
Grill marks are more than just aesthetically pleasing; they add a distinct texture and depth of flavor to grilled dishes. Whether you're cooking a juicy steak, vegetable skewers, or even a burger patty, mastering the art of creating perfect grill marks can take your grilling skills to the next level.
The first step to achieving those beautiful grill marks is to ensure that your grill grates are clean and well-oiled. This prevents the food from sticking to the grill and helps in creating those defined lines. Preheat the grill to a medium-high heat to allow for proper caramelization and grill mark formation.
When placing your food on the grill, make sure to position it diagonally across the grates. This technique creates a diamond pattern that is visually appealing. Avoid moving or flipping the food too soon, as this can cause the grill marks to smudge or disappear. Allow the food to sear for a few minutes on each side before giving it a quarter-turn to create crosshatch grill marks.
Remember to resist the temptation of pressing down on the food with a spatula, as this can cause the juices to escape and result in a dry and less flavorful dish. Instead, let the heat of the grill do its magic and develop those iconic grill marks that will wow your guests and elevate your culinary creations.

Mastering the Art of Grill Marks: Pro Tips for Perfection
Grilling season is upon us, and there's nothing quite like those perfect grill marks on a juicy piece of meat or a colorful array of vegetables. The secret to achieving those beautiful lines lies in the technique and a few pro tips. Here, we unveil the sizzling secrets that will elevate your grilling game to a new level of perfection.
1. Preheat and Oil
Before grilling, it's crucial to properly preheat the grill. This ensures an even cooking surface and helps create those desired grill marks. Additionally, lightly oil the grates to prevent food from sticking. Simply soak a paper towel in vegetable oil, then use tongs to rub it over the grates.
2. Clean and Maintain
A clean grill not only promotes better flavors but also aids in the creation of grill marks. Before cooking, use a grill brush to remove any debris or residue from previous grilling sessions. For gas grills, regularly check and clean the burners to avoid uneven heat distribution that can affect the grill marks.
3. Perfect Timing and Technique
To achieve those professional-looking grill marks, timing and technique are key. Start by placing your food diagonally on the preheated grates, positioning it at a 45-degree angle to the grill surface. Allow the food to sear for a few minutes without touching or moving it. Then, using tongs, rotate the food 90 degrees to create the crosshatch pattern. After a few more minutes, flip the food over and repeat the process on the other side.
4. Appreciate the Maillard Reaction
The Maillard reaction is the chemical reaction that occurs when heat interacts with amino acids and sugars in food, resulting in the desired brown color and delicious flavors. It is this reaction that creates the coveted grill marks. By managing heat and time, you can achieve those beautiful lines while ensuring your food is cooked to perfection.


